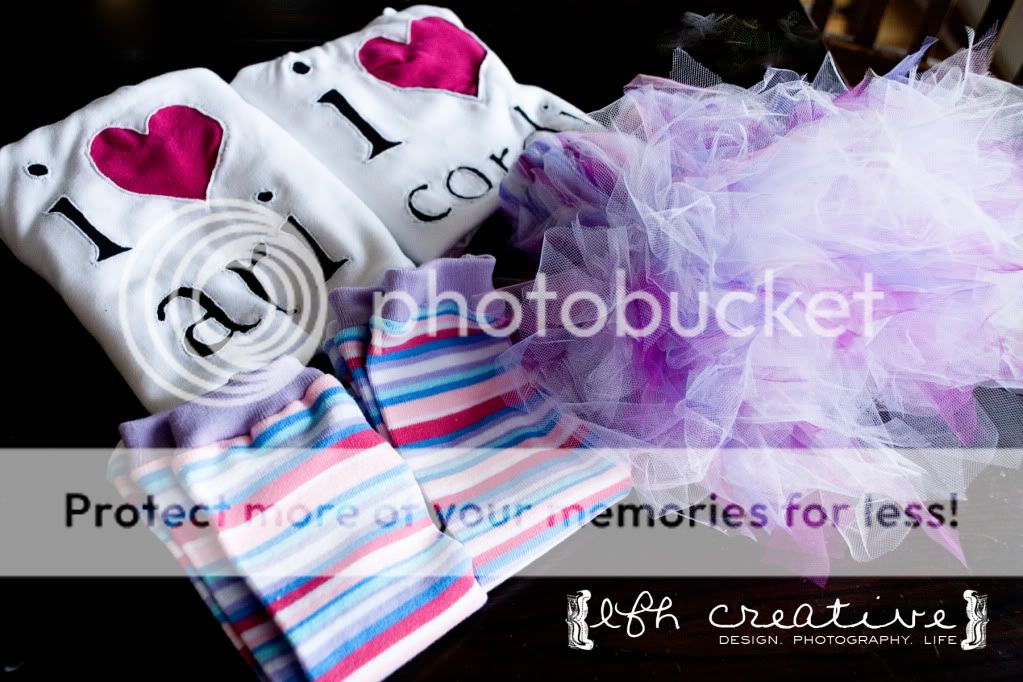
Step 1:
Design something to make. My suggestion would be the less experienced you are with sewing knits the simpler you keep it. Also, small letters will not show up well.

Step 2:
Gather your supplies. You will need :
- a sewing machine
- an iron
- straight pins
- scissors
- a t-shirt (or whatever else you want to reveres applique)
- scrap jersey fabric
-freezer paper


Step 3:
Print or draw your design on the non waxey side of the freezer paper. You do not need to reverse the image. Freezer paper should work fine in desk jet printers but DO NOT use it in laser jets. The heat will melt the wax ruining your printer. Iron the design onto the outside of your t-shirt.

Step 4:
Turn your shirt inside out and pin the jersey to the back of your design. Because jersey is kinda tricky, pin more rather than less. If you are doing multiple clolors, you would want to do one color at a time.
Step 5:
Turn your shirt right side out and get is positioned to sew. I used a straight small stitch. You need to use a small stitch length to perforate the freezer paper. Sew directly on top of our just on the outside of all your lines. Backstitch before starting a new letter or shape.


Step 6:
After finishing all the shapes and letters in a given color, turn the shirt inside out and trim excess fabric away from the back. You don't want to trim to close to the edges, maybe about 1/8" plus around all stitches.
Step 7:
Repeat Steps 4, 5, and 6 for any other colors you want to do.

Step 8:
Turn the shirt right side out. Channel your inner gerbil and gently begin pulling off the freezer paper. The small stitches you used to sew the jersey together should have perforated the freezer paper. The paper should come off easily.

Step 9:
Using your smallest, sharpest, most nimble scissors trim away the jersey inside your letters and shapes. Be careful to not cut the layer of fabric underneath. Again, you want to trim close to the stitching but not right on it. 1/16" is as close as you want to get. The jersey will curl at the edges with wear or washing. This is an excellent activity for halfhearted tv watching.

Step 10:
That's it! Now use your new technique to applique all kinds of stuff. I haven't seen freezer paper used in any other tutorial. I like it because it keeps everything neatly aligned and takes the stretch out of the jersey while sewing. I tried tissue paper... horrible. I also tried just tracing on the shirt and that was also a huge pain because of the stretch.
If you find this tutorial useful, please leave a comment and if you feature it on your blog, give me credit :) Sorry girls it took me so long to get this up!

