Showing posts with label tutorial. Show all posts

Wednesday, March 10, 2010

super easy reverse applique

A couple friends have asked for a tutorial on how I made those sweet twin onesies a few weeks back. And I am just now getting around to posting the tutorial! Not having internet at home definitely has a downside! So with out further delay...


Step 1:
Design something to make. My suggestion would be the less experienced you are with sewing knits the simpler you keep it. Also, small letters will not show up well.


Step 2:
Gather your supplies. You will need :
- a sewing machine
- an iron
- straight pins
- scissors
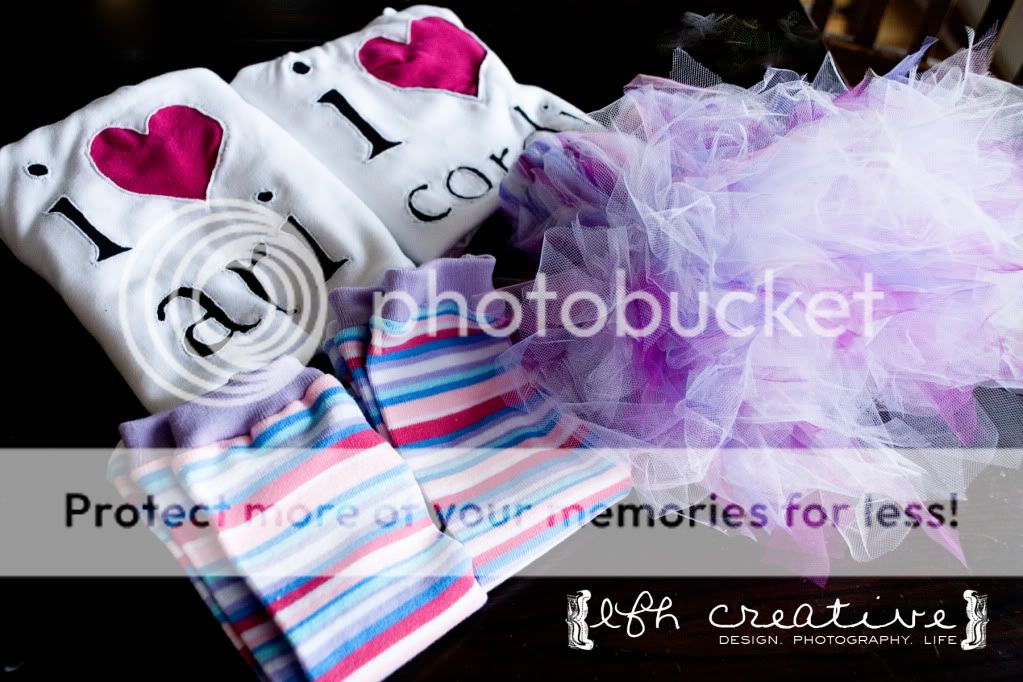
- a t-shirt (or whatever else you want to reveres applique)
- scrap jersey fabric
-freezer paper


Step 3:
Print or draw your design on the non waxey side of the freezer paper. You do not need to reverse the image. Freezer paper should work fine in desk jet printers but DO NOT use it in laser jets. The heat will melt the wax ruining your printer. Iron the design onto the outside of your t-shirt.


Step 4:
Turn your shirt inside out and pin the jersey to the back of your design. Because jersey is kinda tricky, pin more rather than less. If you are doing multiple clolors, you would want to do one color at a time.

Step 5:
Turn your shirt right side out and get is positioned to sew. I used a straight small stitch. You need to use a small stitch length to perforate the freezer paper. Sew directly on top of our just on the outside of all your lines. Backstitch before starting a new letter or shape.


Step 6:
After finishing all the shapes and letters in a given color, turn the shirt inside out and trim excess fabric away from the back. You don't want to trim to close to the edges, maybe about 1/8" plus around all stitches.

Step 7:
Repeat Steps 4, 5, and 6 for any other colors you want to do.


Step 8:
Turn the shirt right side out. Channel your inner gerbil and gently begin pulling off the freezer paper. The small stitches you used to sew the jersey together should have perforated the freezer paper. The paper should come off easily.


Step 9:
Using your smallest, sharpest, most nimble scissors trim away the jersey inside your letters and shapes. Be careful to not cut the layer of fabric underneath. Again, you want to trim close to the stitching but not right on it. 1/16" is as close as you want to get. The jersey will curl at the edges with wear or washing. This is an excellent activity for halfhearted tv watching.


Step 10:
That's it! Now use your new technique to applique all kinds of stuff. I haven't seen freezer paper used in any other tutorial. I like it because it keeps everything neatly aligned and takes the stretch out of the jersey while sewing. I tried tissue paper... horrible. I also tried just tracing on the shirt and that was also a huge pain because of the stretch.

If you find this tutorial useful, please leave a comment and if you feature it on your blog, give me credit :) Sorry girls it took me so long to get this up!

Friday, February 27, 2009

pretty in pink


It's finished! Woohoo! All that pink it sewn into a finished product! I have been admiring these fun fluffy pettiskirts found here, here, and here for at least a year. $80 for dress up clothes seemed like a big splurge so I looked and enjoyed from afar.

On Monday I was pursing my blog feeds (google reader!) and came across this post from the amazing site Grosgrain. Her post made me think, hey.... I bet I could make one of these!

After making one, I am thinking $80 is a BARGAIN for the amount of time it takes to sew one of these together. But, if you like a challenge.....

So I ordered a slew of pink, hot pink, and blue fabric from afc-express and gathered up all the other supplies from Martha's instruction list and video. Martha's supply list is a little off. Get 1/4 yard satin charmuese and 1/4 yard interfacing. She says to get 3 yards of chiffon, I used 6 for just one skirt. The girl on Grosgrain also used 6 for hers. Also, be sure to get regular thread to match your fabric. I used a full spool of light pink and most of a spool of dark pink. I also found instructions here, although I didn't use them... they seemed very detailed and easy to understand.

Some valuable tips I'll pass on in addition to the resources I have linked.
1. Hand wind the elastic thread on the bobbin. Elastic thread can be found at Hobby Lobby but not Jo-anns for you locals. I used a full 30 yards for one skirt.
2. I precut all the fabric has directed, but ended up cutting much more especially for the ruffle at the bottom. I would say the measurements for fabric are guidelines, don't be surprised if you have to had length to one tier and shorten another. For example, I got really carried away and used quadruple the amount of fluff (light pink) than the directions called for since I made such tight ruffles.
3. I built mine from the base up so I could sew a straight piece to a ruffle piece. I think this made it much easier, and I may have given up altogether if I hadn't done the hardest part first. For me the hardest part was sewing 198 feet of fluff on to 50 feet of hot pink. It went much faster after that. :)
4. I used 3 full yards for the light fluff, if I had made the ruffles a little looser it would have been easier to sew on and I would have used much less. I like how fluffy it is, but it was a challenge dealing with it! The fluff was very easy to sew, just go as fast as you can while holding the fabric taught. Elastic thread maybe my new favorite crafting thing!
5. I had to add fabric and a row to get the skirt to narrow, having extra fabric was really nice!
5. This is not hard, just time consuming. I think I spent about 10 hours making Ella Bella's. I have a very basic machine and no ruffle foot and I don't really see how it would go a whole lot faster for a first time sewing one.

I want to see you creations if you try this craft out! Also let me know if you are local and placing an order, I will split shipping with you! I have an idea for a simpler version of this but need more fabric.


Thursday, February 5, 2009

crafting from the stash: felt carrots


Follow the photos to make your own, a picture is worth a thousand words!